Before you startThis is the first guide in the series. The only thing you’ll need is an invitation to the Mesh dashboard — reach out to your Mesh representative if you haven’t received one yet.
Create a Mesh dashboard account
Mesh’s developer dashboard is your home base for managing your Mesh account (API keys, configuration options, transaction data, etc.). If no one in your organization has been invited to an account, reach out to your Mesh representative to request an invitation. You’ll receive that invitation via email and will be prompted to set up a password to secure your account. If someone in your organization already has a Mesh account, ask them to invite you to it (Account > Team). Team members are managed with role-based access (shown below), and each team member will have their own account and login.
Generate a sandbox key
Get started by navigating to Account > API keys where you can create and manage keys. You’ll also find the sandbox base URL here — use it to point your API requests to the right place during development.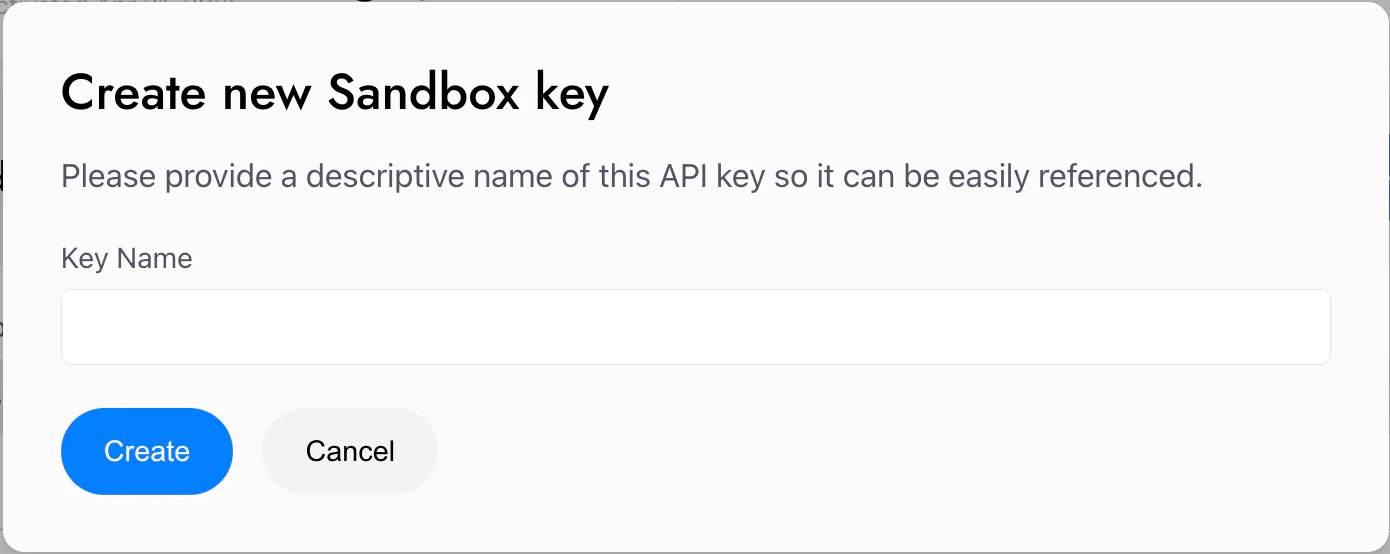
Add one or more “Allowed domains”
These are the domains on which Mesh’s SDK (Link) will be allowed to render. Link will fail to load on all other domains. You can add “Allowed domains” in Account > API keys.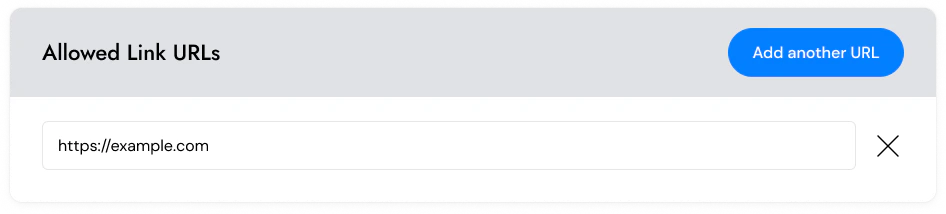
Download and install the Mesh SDK
Link is Mesh’s client-side SDK, supported on 5 platforms. It facilitates the user experience for all flows (ie. connecting an account, configuring/previewing/approving transfers, verifying wallet ownership, etc.), minimizing any frontend work needed on your end (all you need is an entry point and a post-flow acknowledgement). Select which platform is best for you, and click below to download and install it. In the next guide, you’ll learn how to configure and launch a session of this SDK.
Web SDK Installation
Web SDK Installation

iOS SDK Installation
iOS SDK Installation
Add package dependency using source control repository URL to your Xcode project:Details on mesh-ios-sdk

Android SDK Installation
Android SDK Installation

React Native SDK Installation
React Native SDK Installation
Install the dependency:This package requires Details on mesh-react-native-sdk
react-native-webview to be installed in your project:
Flutter SDK Installation
Flutter SDK Installation
Add the dependency to Mesh SDK uses the Details on mesh-flutter-sdk
pubspec.yaml:flutter_localizations package for localization:This step is not necessary if you plan to use Paylinks — Paylinks launch the Mesh SDK in a separate Mesh-hosted webpage and don’t require the SDK to be installed locally. See the Launch the Mesh SDK guide for more.
What’s next
The next two guides cover the foundational pieces of every Mesh integration:- Fetch a Link Token: This token is an access key for a session of Link, Mesh’s SDK. You’ll request it with a call to a Mesh endpoint, and the parameters you include will configure that user session.
- Launch the Mesh SDK: Mesh has 5 client-side SDKs which are home to Link, the Mesh-hosted UX that facilitates the user journey (i.e. connecting an account, configuring / previewing / approving transfers, verifying wallet ownership, etc.). You’ll launch an SDK session using a Link Token.
AI coding reference (llms.txt)
AI coding reference (llms.txt)
AI coding reference — a compact summary of this page’s APIs, parameters, and patterns for use by AI coding assistants (following the llms.txt standard). Human readers can safely ignore this.llms.txt — Prepare to buildDashboard account setup, sandbox API key generation, domain allowlisting, and SDK installation for all 5 platforms.Dashboard paths: API keys → Account > API keys > API keys | Allowed domains → Account > API keys > AccessKey: Create key with Read & Write permissions for any transfer use case.Sandbox base URL:
https://sandbox-integration-api.meshconnect.comAuth headers on all API calls: X-Client-Id: YOUR_CLIENT_ID, X-Client-Secret: YOUR_API_KEYSDK installs:- Web:
npm install --save @meshconnect/web-link-sdk - iOS: Swift Package from
https://github.com/FrontFin/mesh-ios-sdk - Android:
implementation 'com.meshconnect:link:<version>'in build.gradle - React Native:
npm install --save @meshconnect/react-native-link-sdk+react-native-webview - Flutter:
mesh_sdk_flutter: <version>in pubspec.yaml +MeshLocalizations.localizationsDelegates